Yo dawg, I heard you wanted to contribute to the data blog, so I put together this blog post on how to put together a blog post. This post assumes that you use the RStudio IDE – we’ll make use of RStudio Addins a lot in this post.
The first thing you’ll want to do is clone the data blog repo. Then, install the blogdown package from RStudio.
# install from CRAN
install.packages('blogdown')

# or install from GitHub
remotes::install_github('rstudio/blogdown')
Adding a New Blog Post
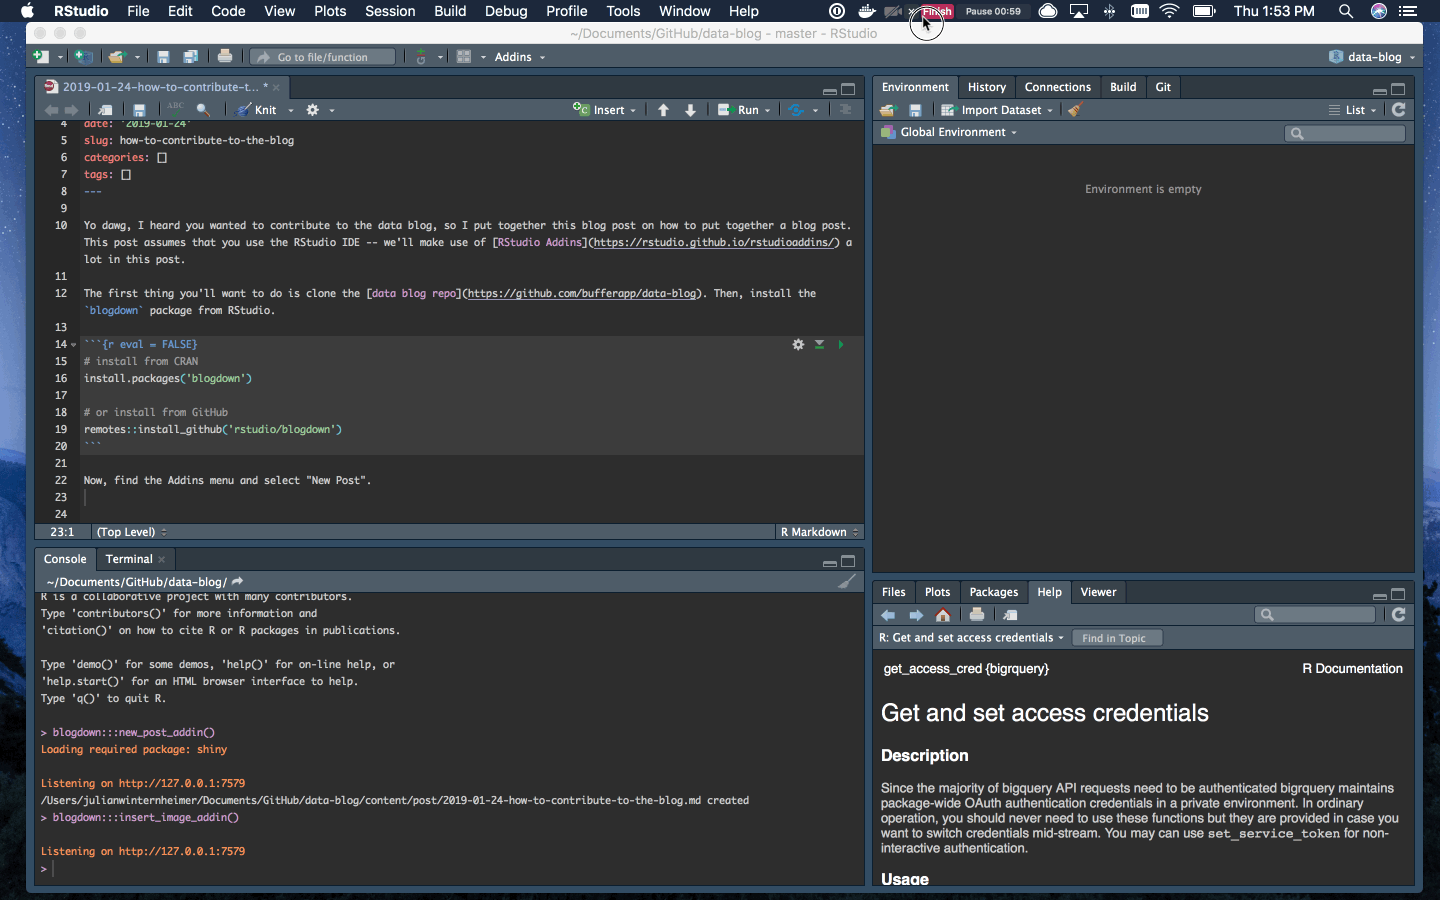
To add a new post, find the Addins menu in RStudio and select “New Post”. Name the post, add any tags, and select RMarkdown.
And you’re off!
Adding an Image
To add an image, go back to the Addins menu and select “Insert Image”. Select the image you’d like to add and set the image width to 100%.
Serve Site
The “Serve Site” addin calls blogdown::serve_site() function to continuously serve your website locally using the LiveReload technology, so you can live preview the website. You can continue to edit material for your site while you are previewing it. Use it – it is super handy.
Use RDS Files
Whenever your analysis includes a SQL query, save the results in rds files and don’t run the SQL query when you serve the site. Here is an example.
# load buffer package
library(buffer)

# connect to redshift
# con <- redshift_connect()
-- this query doesn't actually run
select * from dbt.users limit 10# save sql results in rds file
# saveRDS(users, file = 'example_users.rds')
# load rds file
users <- readRDS('example_users.rds')Once the sql chunk has been completed, change {sql connection = con, output.var = users} to {sql eval = FALSE}. The query will not run, but the data will be loaded in the following code chunk with users <- readRDS('example_users.rds').
Submit Pull Request
Once you have served your site and are happy with your new post, commit your changes and submit a PR. Once the PR is merged to master the changes will be deployed. That’s it. You’re done!